| Step by Step Earthbag Construction by Dr. Owen Geiger |
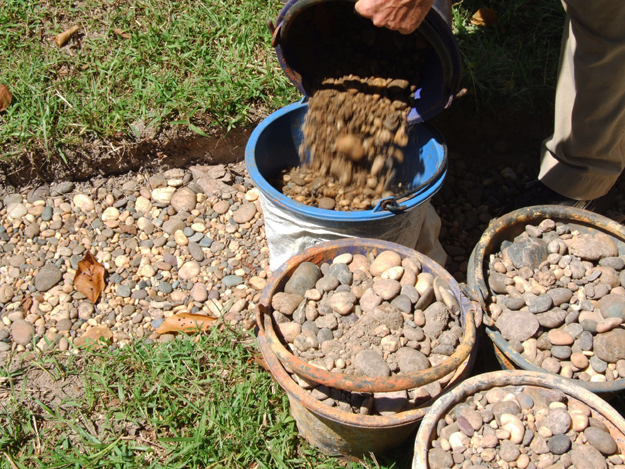
To illustrate just how easy earthbag building can be, this article shows each main step of construction for building vertical earthbag walls. Follow these steps and you and half-dozen friends can build the walls of a 625 square foot (58m 2 ) house in about 5-10 days. Videos on my YouTube channel demonstrate the process. The following instructions assume you have cleared and leveled the site, removed topsoil, positioned fill soil around the building site to minimize work, dug a trench to stable subsoil, put about 12" of gravel in the trench, and added corner guides and stringlines. 1. Tools and materials (listed left to right): woven polypropylene bags (about 18" x 30" ), bucket chute (4-gallon bucket with bottom cut off), 4 or 5 heavy duty 2-gallon cement buckets, stringline, metal chisel and scrap steel for cutting barbed wire (or bolt cutters), hammer, sheetmetal slider (about 13" x 16"), 15 gauge galvanized wire, knife, wire cutters, tape measure, 4-point barbed wire, corner guide, grub hoe or grape hoe, level, tampers, bundle 500 bags, shovel. 2. Fill the bags: use 2-gallon cement buckets to measure the fill material. Use the same number of buckets for each bag. Fill bags approximately 90% full, leaving just enough to sew the bags closed. This technique ensures a.) each bag is filled to capacity to save bags, and b.) each bag is the same size, which helps keep walls level. Bag stands are not needed.
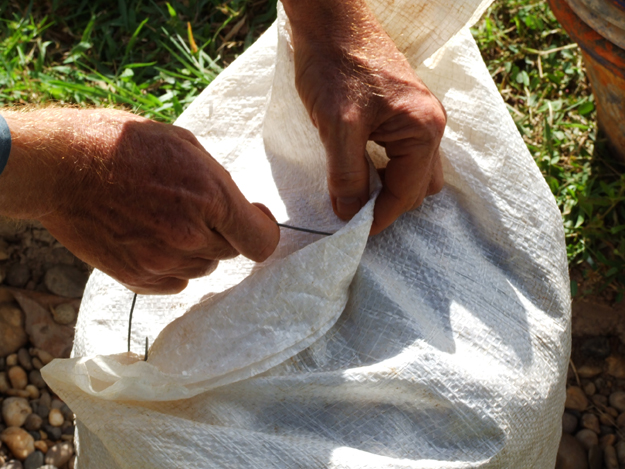
3. Sew or stitch the bags closed: fold the bag end over; use 15 gauge wire about 9" long with one end cut at a sharp angle; make one stitch on one side and bend the end over; make a stitch in the center and pull the corner over; make a stitch in the other corner and pull the corner over; poke the remaining wire into the earthbag. This technique facilitates handling, prevents spills and enables bags to be filled to capacity.
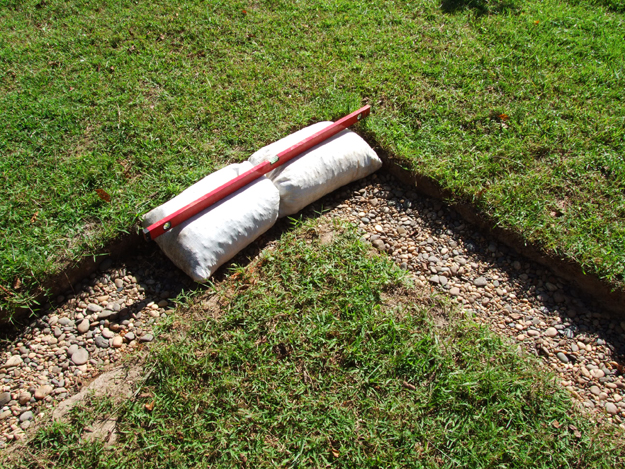
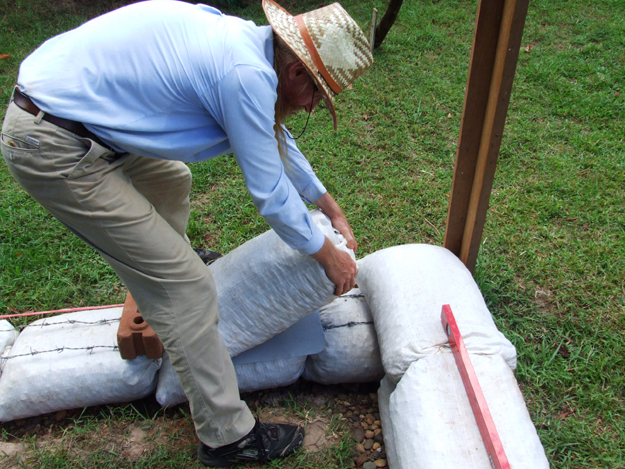
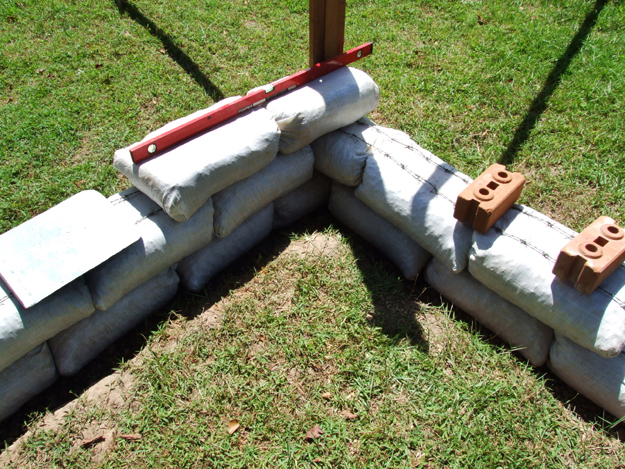
4. Lower courses: place gravel-filled bags (double bagged) working from the corners and openings to the center. It helps to tilt the first two bags against each other. Align bags to stringline; tamp the bags solid and level after the course is complete, working from the center of the bags outward. Always put tops of bags (the ends you've sewn closed) butted against other bags (never facing outward on corners or ends). Maintain a running bond as in masonry.
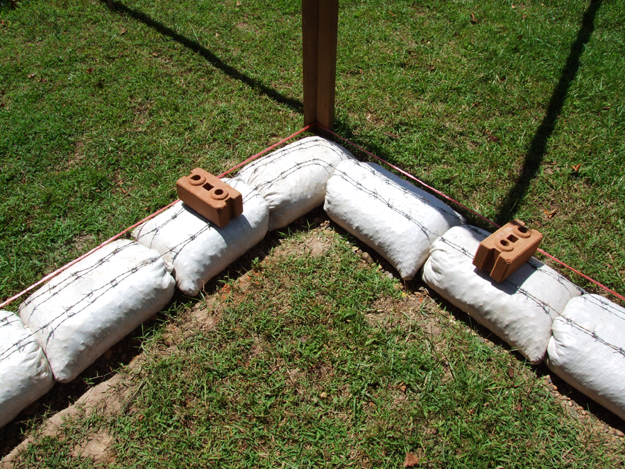
5. Add barbed wire: use two strands of 4-point barbed wire in-between each course of bags; bricks or stones temporarily hold the barbed wire in place.
6. Use a sheetmetal slider to place additional courses so bags do not snag on the barbed wire: fill the bags on the slider; sew the end closed; tilt the bag into position and push it against the previous bag; after the bag is aligned, hold the end of the bag (it helps to lift it slightly) and jerk the slider out. Continue with gravel-filled bags until you are safely above grade to avoid risk of moisture damage.
7. Repeat the process using earth-filled bags, but with a few minor changes: turn bags inside out to avoid protruding corners; use lightly moistened soil; tamp the contents slightly after each bucket load is added; pre-tamp each bag after it is aligned in position. This last step lengthens each bag to ensure good overlap.
8. Make custom-sized bags to fill odd-sized spaces: measure the opening; fill the bag to the approximate level; cut off excess bag material; fold each side of the end toward the center and tuck under the bag; place the bag in the wall.
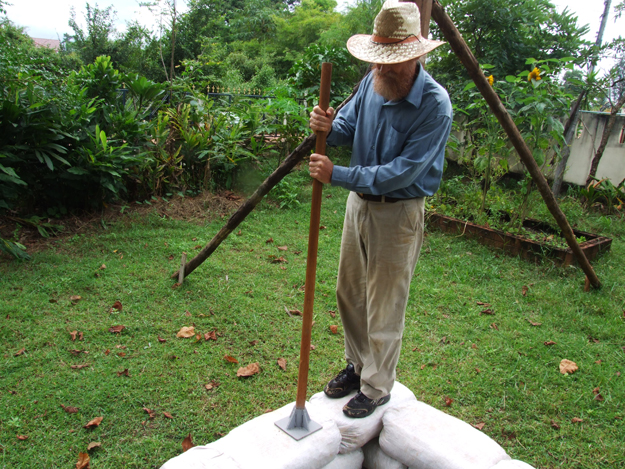
9. Tamping: Tamp earthbags solid and level after each course is complete. Tamp the high points first. Then evenly tamp the entire wall several times as you continually move the tamper. This last step avoids creating low spots.
Notes for 'speed builders': Here's a recap of important points, along with a few other comments to maximize production. - First of all, get 'clean' (mostly free of rocks, roots, and large clay chunks) sandy-clay soil delivered to the site and dumped in piles around the building. - To minimize handling, fill the bags in place on the wall. - Gravel could be shoveled from the truck directly into the rubble trench foundation. - Work in teams -- say, two teams for a small house -- and try a little friendly competition. - Bag size is important. Even a slightly larger bag than 18" x 30" uses more materials and requires extra work. Bags much less than 18" wide will be unstable for 8' high vertical walls. - Refine your technique for making custom-sized bags - they tend to be a real time killer. One idea is to hold a partially filled bag next to where it will go and eyeball how much soil to use. Add more than you think because it will compress quite a bit. - Let go of perfectionism. There's a middle ground between high-precision work, such as masonry, and careless work. Use reasonable care and no one will notice minor imperfections after the plaster goes on. And if you want, it's relatively easy to tweak and flatten the wall with a tamper before plastering if the wall hasn't dried. (But don't be careless. We've seen some very poorly built walls.) - There's no need to tamp the bags excessively, just tamp until they're solid. One minute per bag should be plenty, maybe go two minutes if you're slow and tired. There's a change in tone when they become solidly compacted. Owen Geiger, Ph.D. is a TLS Correspondent, Mother Earth News Green Home Adviser and the Director of the Geiger Research Institute of Sustainable Building. Photos and videos by Got Chankamol Visit our naturalbuildingblog.comwhere we provide all the latest earthbag news and answer reader's questions. |

