| An Earthbag Round House by Morgan Caraway |
All contents of this page © 2022, Morgan Caraway, https://sustainablelifeschool.com. Do not create other content using anything here without first contacting the creator and giving him credit.
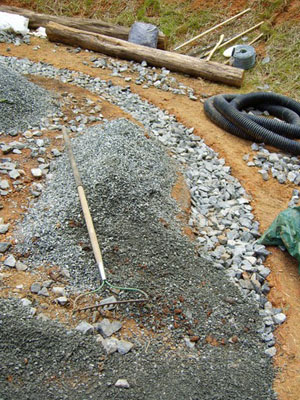
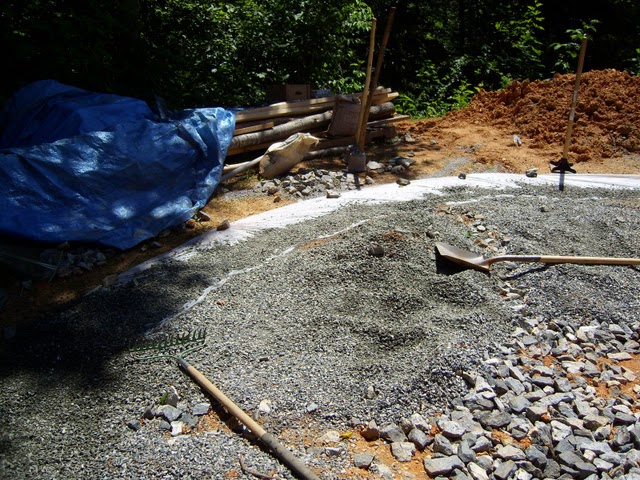
Starting on the rubble trench foundation. Railroad ballast was used for the rubble.
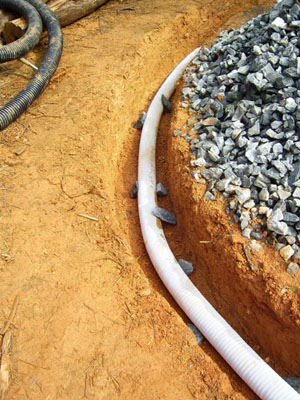
The drainage pipe in place. A layer of pea gravel goes over the railroad ballast.
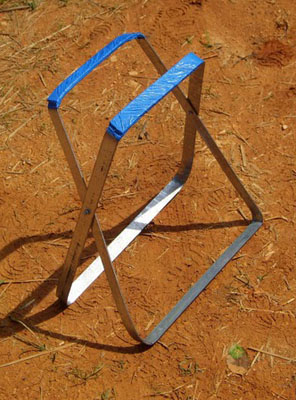
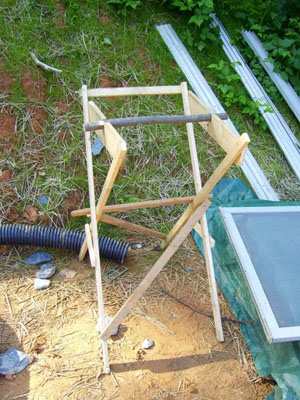
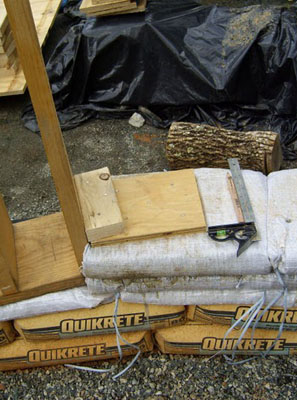
Homemade bag stand to put bags on while you're filling them and barbed wire stand.
Covering over our sediment fabric with pea gravel.
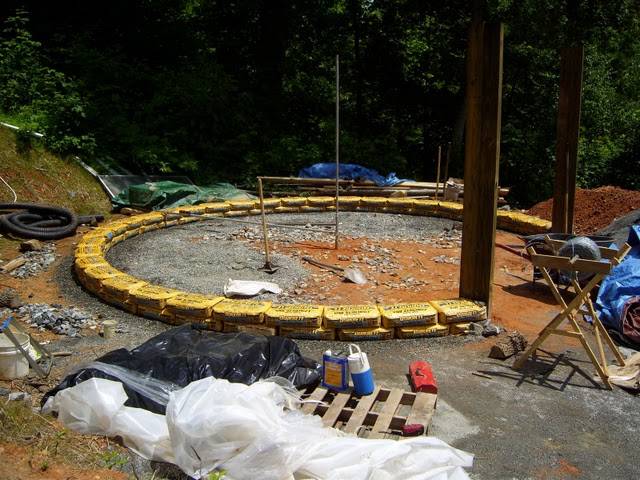
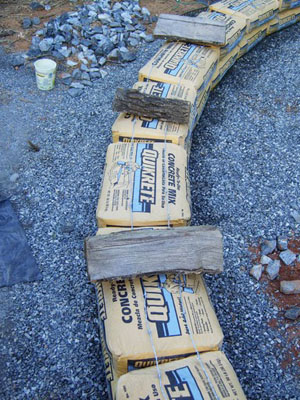
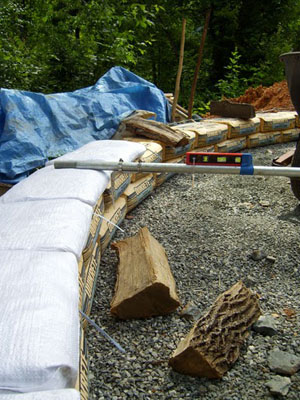
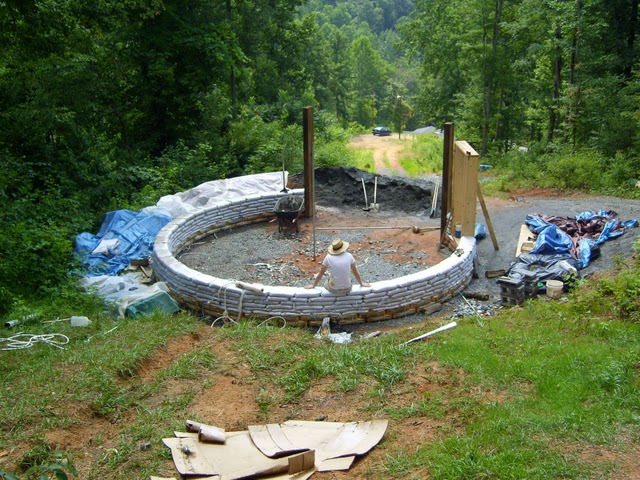
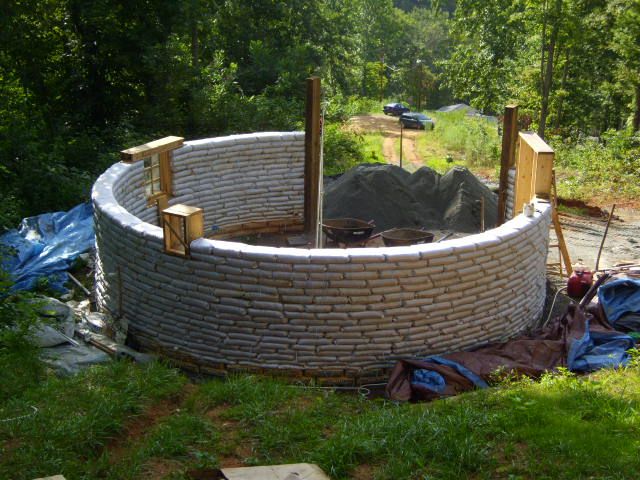
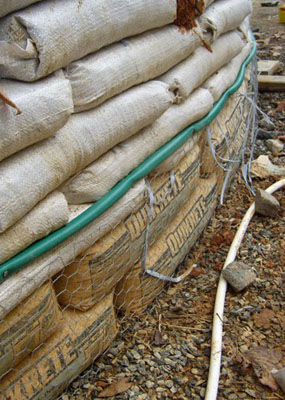
Our first and second rows of stem wall - 80 lb sack concrete. 2 strands of barbed wire go between every row. The thing in the middle is our building compass, made from chain link parts, used to keep the walls round and level. Firewood used to hold the barbed wire in place. The row of gravel bags going in. When tamped, they are about 2 inches thick. Door frame up. The bottom layer of bags are double bags filled with gravel to keep water from wicking up into the walls.
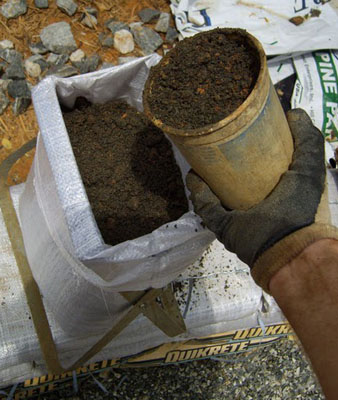
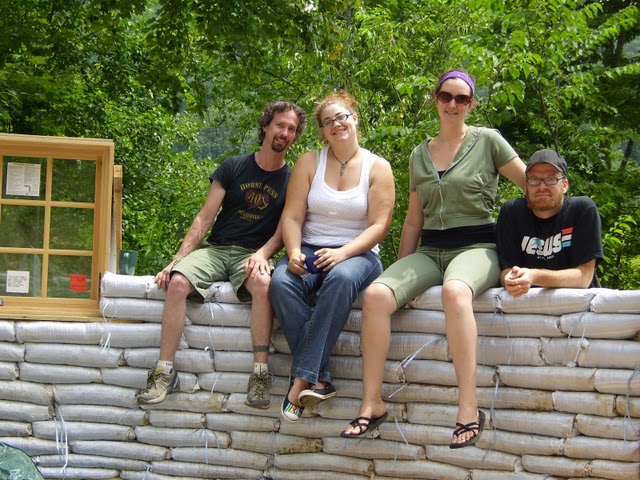
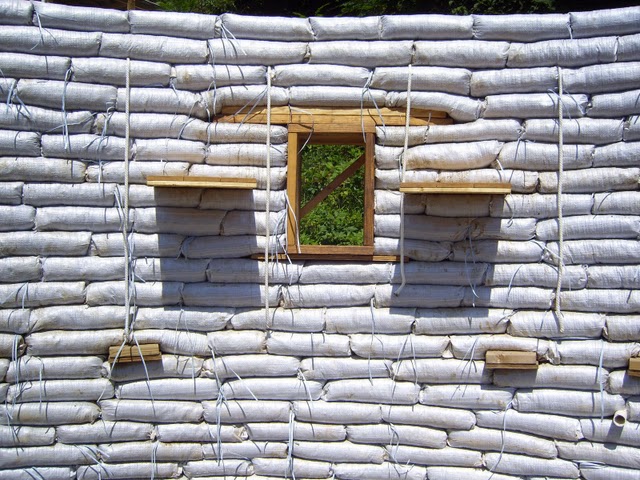
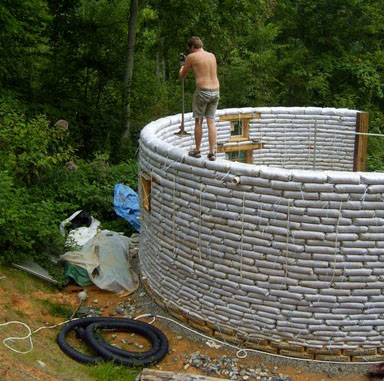
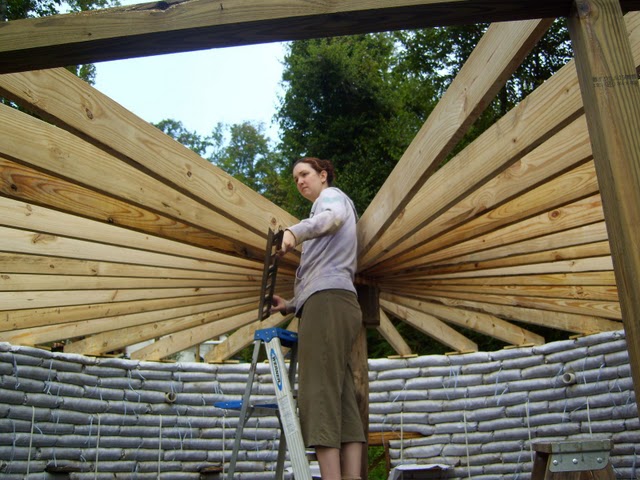
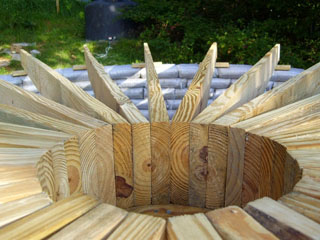
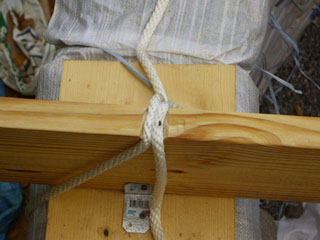
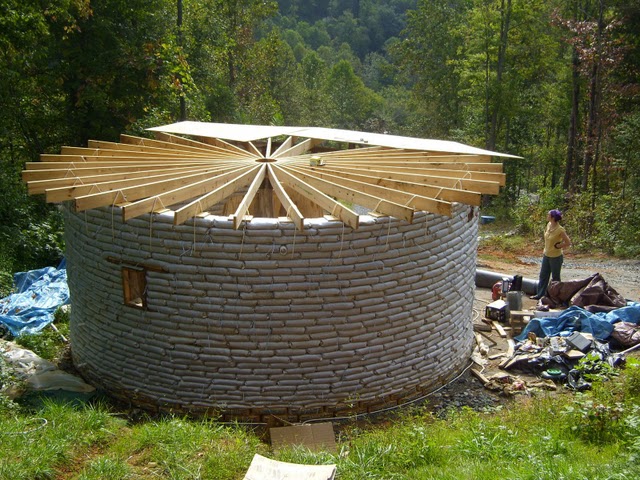
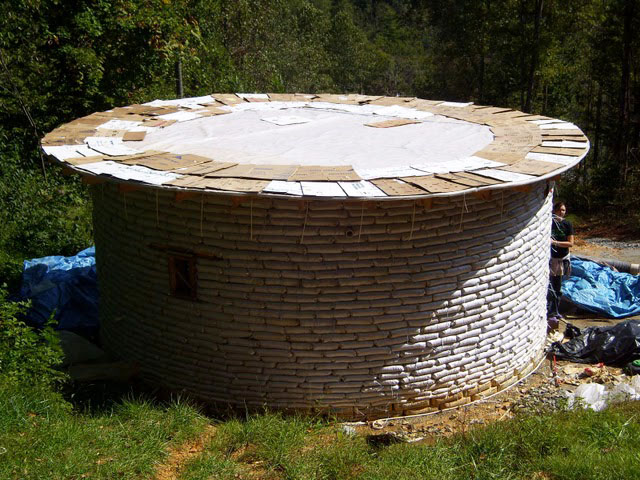
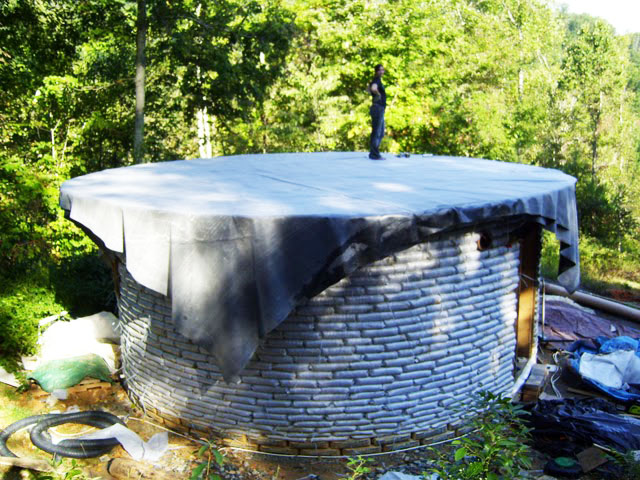
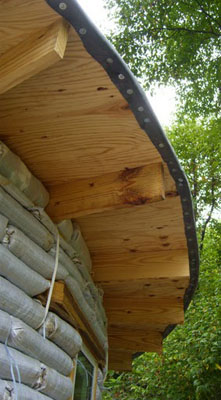
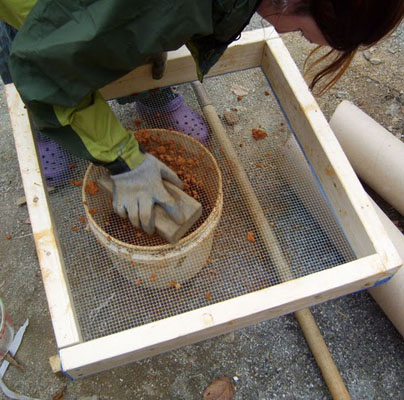
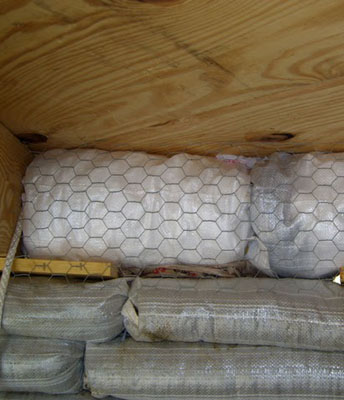
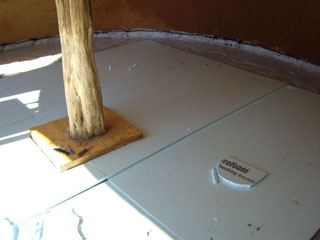
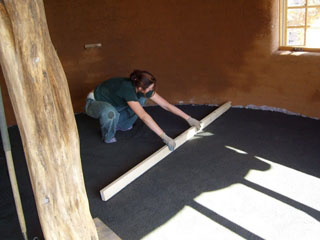
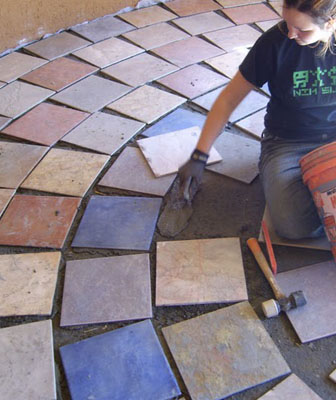
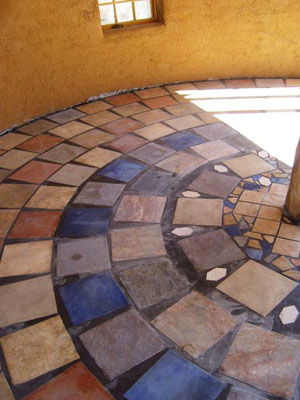
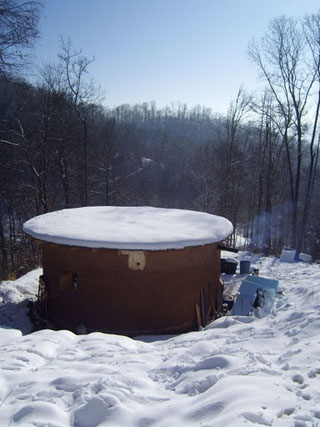
A strip anchor to hold the door in place. Filling a bag with a mix of clay soil from on-site and "screenings" from a gravel quarry. Surveying my kingdom. This is how far we got by the end of the building party. Not too shabby, eh? The little window near the camera will also be a cold storage in the winter. Note our first lintel over window in back. This keeps the wall stable over an "open" area such as a door or window. Ropes in wall are to tie down joists when we put the roof on. Note flue through which stove pipe will exit the wall. Shelves next to northern window/cold storage. This is where the kitchen will be. Tampin the wall. Yeah, that's way up there. Two more rows will finish the bag wall. Center post. Locust wood. Putting up joists. Nail through ropes holds tighter than tieing. Plywood going on. First roof layer - 6 mil poly. Water proof tape to join sheets. We also put silicone caulk to help seal it. Cardboard layer (for a little extra insulation ). EPDM going on. 4-6 inches of straw was placed over the EPDM and hopefully this will eventually become a living roof. Drip edge. Works perfectly. MJ sifting clay. Styrofoam (saved from dumpsters) bags sealing between joists with chicken wire for plaster over them. Hose separates earth and cement plaster. Cement wicks water up. Our neighbor, JD, had done alot of plastering and showed us a really quick way to put it on with a trowel. Floor insulation over 6 mil poly. Screeding sand to level it. Cementing under tiles. The finished floor - it's beautiful and tough.
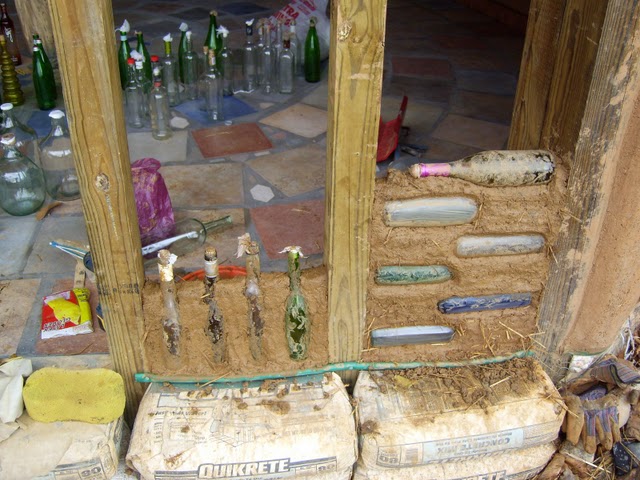
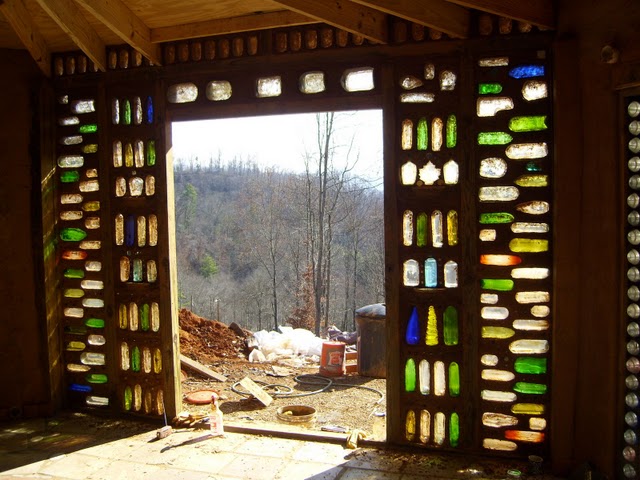
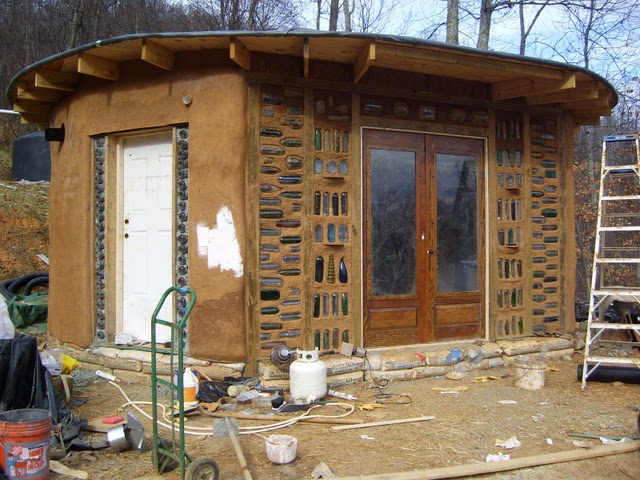
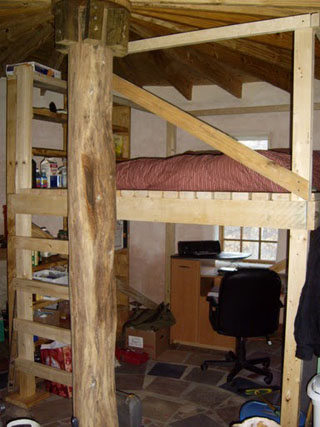
Bottle wall done! Almost ready to move in. We are adding a layer of perlite plaster (clay soil mixed with perlite) over the top of the old plaster for insulation which we will paint with lime paint when we're done to help reflect solar gain. Lime wash application. It is moisture resistant and lets the walls "breathe". Our house was looking rather like a cupcake. The loft in all of it's glory with queen sized futon on top and office underneath . |